Importing XLIFF
Import your translated XLIFF file to produce a translated PDF. If you haven't yet obtained an XLIFF version of your original PDF see Exporting XLIFF.
You do not need to wait until your translation is 100% complete but can get a free preview of your work at any time. It will show your latest translations and can be viewed alongside the original PDF so that you can visually check your progress.
You can import your XLIFF in two ways:
- Via drag & drop
- Using the Translate->Import XLIFF... menu item.
Using Drag & Drop
- Drag & Drop the translated XLIFF on to an open Infix Pro PDF Editor window.
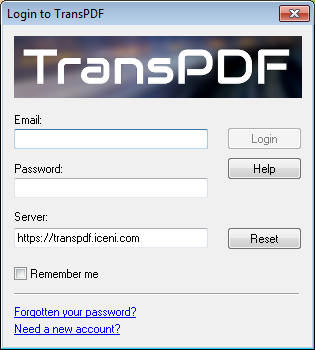
You do not need to have a PDF open at the time. - If you have not done so already, you will be asked to supply log-in details for your TransPDF account. You only need to do this once.

If your company has it's own TransPDF server, enter it's address in the Server: field. Don't forget to include 'http://' or 'https://' at the start.
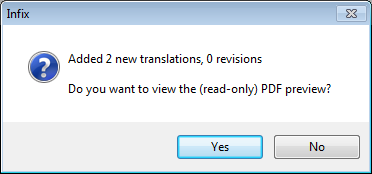
To use the default public server leave this field unchanged or press Reset. - Once logged-in, your XLIFF file will be uploaded to TransPDF. Infix Pro PDF Editor will then report the number of changes were detected in the translation.

In this example 2 new translated paragraphs have been found, no existing translations have been modified. - Choose Yes to download a free, read-only preview of the translated PDF.
- Save the preview on your computer.
- Choose how you want to view the preview - on it's own, or as a side-by-side comparison with the original PDF.
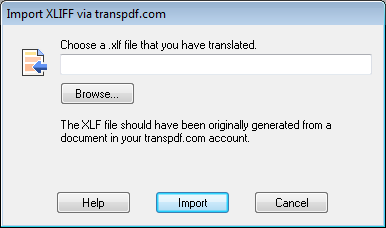
Using Translate->Import XLIFF...
- Choose Translate->Import XLIFF...
or press Import XLIFF ( ) on the Translation toolbar (View->Toolbars->Translation)
If you have not already logged-in, the login window will appear as in step 2 above. - Choose your translated XLIFF file and press Import.

- From this point on, the proceed from step 3 above.
